For the Love of Learning

Wednesday, February 27, 2013

Comparing and Contrasting Fiction

We have officially finished our comparing and contrasting nonfiction unit and will be beginning to apply this skill in fiction now.  We are going to start out by reviewing the different story elements. I found this video on YouTube and thought it would be a catchy way to refresh the kids' memories. Just click on the image if you want to check it out...

 
After the video, I read them an old-time favorite, The Emperor's New Clothes.  With their partners they discussed the characters, setting, plot, and moral of the story. As a class, we filled in a T-Chart identifying the parts. When our T-Chart was complete, I sent the groups back to their seats to complete a story elements foldable by themselves. In addition to cutting and gluing the meanings of each element, the students did an illustration of what each element looked like in the story we just read. Here is an example;


The following day I read the students another familiar story; The Three Little Pigs. In their reading center they worked to complete the story elements worksheet, focusing on the areas we had reviewed the previous day. After centers were over we came back together to add it to our class anchor chart.

We repeated the process using the story The Three Little Javelinas the next day. (By the way this is on YouTube if you can't find a copy of the book).  Once again we checked our answers as a class after centers were over. 


The last step will be to use a three-column chart to compare the two versions of the story. I'll get pics up soon!


Saturday, February 23, 2013

Thirty-One!!!

So as most of you know...I LOVE THIRTY-ONE! Well I've finally decided to become a consultant again. I just ordered my kit a few days ago and am anxious to get started. I also found out that the company is having an awesome end of February sale. If you place an online order on February 24-25th your shipping will be ABSOLUTELY FREE! In addition you will be eligible for three of the $5 totes. Don't have $100 worth of things on your wish list? Just call a friend and combine your orders. As long as you pay with one card you can still get the deal! Just click either of the images below to take you directly to my website. If you have any questions just let me know....Happy Shopping!!!
 
 
This is the Keep-It Caddy special...only $5 for each $31 you spend! It comes in several different patterns. Check out my website for more options.
 
 
Here are some ways I have used mine (I have quite a few of these!)...
  • File Bag (fits file folders when you insert a hanging file folder rack)
  • Desk Organizer (hides all your teacher extras like stamps, Post-Its, etc.)
  • Hair Care Bag (keeps all my daughters sprays/conditioners)
  • Garden Bag
  • Cleaner Bag
  • Car Organizer (keep the kiddo's toys hidden away)
  • Play Pack (keep coloring books, crayons, baby dolls, toy cars, etc. packed and ready to go)
  • Many, many more... How would you use yours???


Possessive Nouns

We introduced possessive nouns this week. We started by watching a BrainPop Jr. video and playing the SmartBoard game that goes along with it. The kids really loved this! They enjoy whenever we can bring a little technology into our day.

We also read the book The Greedy Apostrophe and discussed the differences between plurals and possessives. 
 
During our comparing and contrasting lesson in reading this week we read an article that mentioned a hidden statue that had been discovered in Cleopatra's palace. The statue had the body of a lion and the head of a man. We discussed what a sphinx was and some of the students shared that they had come across this word in their reading before. I also shared a picture that Cason (my daughter) had drawn earlier in the week. She drew a frog with wings like a bird. I had the kids draw their own mixed-up monsters and label the different animal body parts.
 
 
The next day, the students had to write sentences telling what animal parts their creatures had. They then rewrote the sentences using possessive nouns. The pictures turned our really cute and the kids loved it!


Sunday, February 17, 2013

Measurement

My class has recently shifted from adding and subtracting three-digit numbers into measurement.  According to my curriculum map we have 26 days to cover eight standards. With no time to waist we jumped right in. Here is my day by day on how I plan on covering the content .......

Our Math Board:

Day 1:
The students started out by brainstorming all that they knew about measurement. They used colored pencils to complete their bubble maps.  I read the students the book, How Big Is A Foot. We acted out one of the events in the story by choosing a student and measuring him for a bed. We used copies of my foot and copies of another student's foot. We then compared the two measurements and discussed why it was important to have a standard unit of measurement.  The students recorded their answers in their math journals and shared them with the class.


After sharing journal entries I showed students an actual ruler. We discussed that there were 12 inches on every ruler and that is always equal to 1 foot.  The students used one inch tiles to trace onto cardstock in order to make their own personal rulers. I passed out packs of chipboard lines and the groups worked together using both tiles and their rulers to measure the line segments and record onto their worksheet.  I collected their sheet for another day.
 
Day 2:
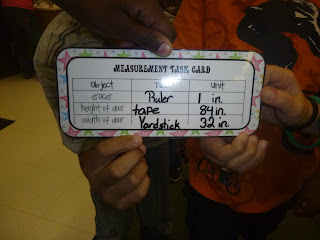
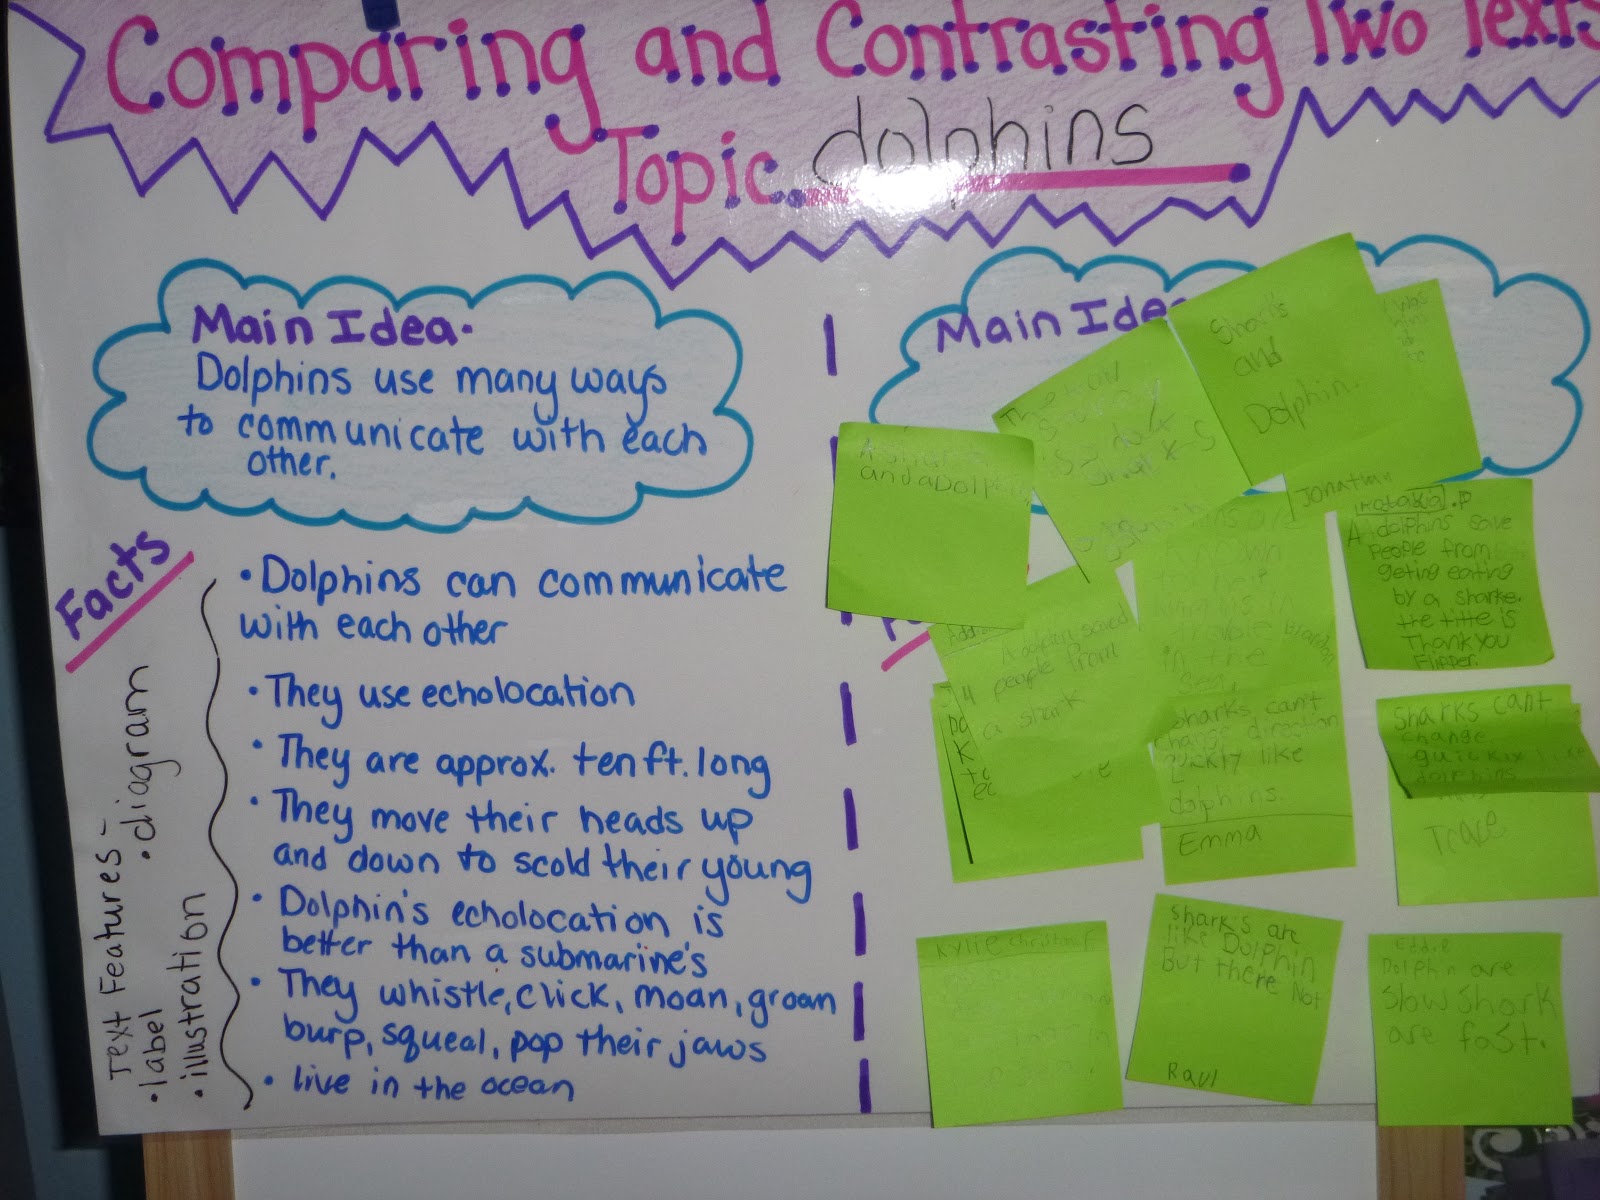
We reviewed what a standard unit of measurement is and discussed how many inches equal one foot. I introduced three tools that measure in inches: ruler, yard stick, and tape measure. We discussed how you would know which tool to pick when measuring objects (less than or equal to a foot should be measured with a ruler, between one and three feet should be measured with a yard stick, more than three feet should be measured with a tape measure). There was a pretty in depth debate on how all tools can be used to measure different objects but there are "good fit" tools that can make the job easier.  I passed out a set of tools to each group and let them have five minutes to use them.  We came back together and discussed the similarities and differences between the tools (this went right along with our comparing and contrasting unit we have been covering in reading) and the students individually completed a 3-2-1 in their math journals; 3 ways the tools were different, 2 ways they were the same, and 1 question they still had.  After sharing, the groups were each given a task card with three objects on it. Each card had a "good fit" object for each tool. The students moved around the room finding and measuring them.  When all groups were finished we met on the rug, shared our findings, and created a "Measure Around the Room" anchor chart.  This is what it looked like:


 Day 3-4:
On days three and four we repeated the activities from the first two days shifting our focus to centimeters instead of inches. The students used the same line segments and task cards to complete their activities. We discussed the difference between the two measurements: It takes more centimeters than inches to measure the same length because centimeters are smaller than inches. This is a brainstorming map we created after reading a book on centimeters and meters:
 
Day 5:
 
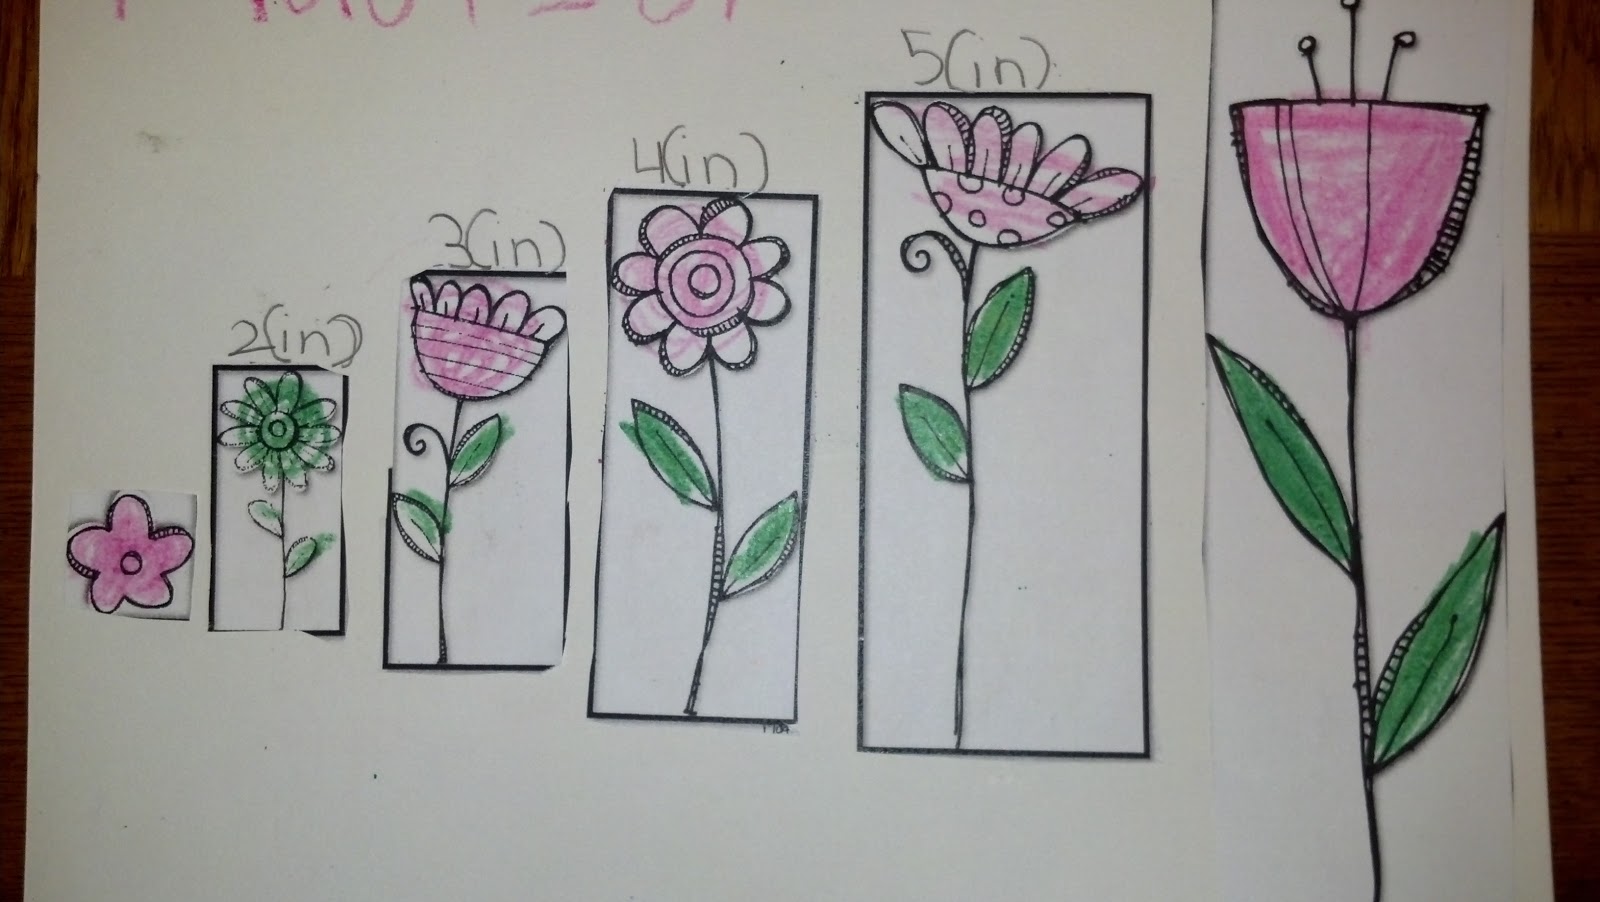
This was the day of Jump Rope for Heart, the sweetheart dance, and our Valentine's Day ice cream party. Due to all of the festivities we did not have our regular math block. We did squeeze in some academic centers that morning though.  The math center was something I got from an Amy Lemons unit called the "measurement garden."  The students had to measure the flowers in inches and then cut and glue them in order from shortest to tallest.  


Day 6: This was a pretty tough lesson for the class...all about conversions. Although conversions are not an actual part of our standards, the students do have to be able to compare lengths that have been measured with two different units (inches/centimeters; feet/yards; etc.).  I gave the students a partially filled in worksheet that had objects measured with more than one unit. The students were then given the measurement tools and as a team had to determine what the equivalent measurement would be. Some of the students set the problems up as repeated addition and others preferred to actually measure the objects themselves.  This is what it looked like... 

 Day 7-9: During these days we focused on estimating. The first day I showed the students the word "estimate" and had them brainstorm in their groups what they thought it meant. We then made a class bubble map of all of their definitions. Once we understood the word we broke up into centers. Each group went to two centers a day. The first day we focused on estimating and measuring objects using only inches and the second day we repeated the same centers using centimeters. By the third day we mixed both centimeters and inches to make sure the students could correctly pick the appropriate unit. The objects we measured were also from Amy Lemons measurement unit.


 Day 10: This week we started off by reviewing estimation. I showed the class a giant Slim Jim (I wanted a Pixie Stick but I couldn't seem to find one in the stores :) and a one-inch tile. Each group had a chance to see the objects. When everyone was done they wrote down their estimate of how long they thought the treat was. We took the information and made a line plot with the data (a new Common Core standard for second grade).  We continued using estimation activities and discussing our findings.

Day 11-12: During this time we shifted our focus to identifying differences in lengths. We started out by selecting two objects, estimating how long we thought they were (in inches or centimeters), and then subtracting the lengths to find the difference. We used many classroom objects as well as our beach measuring centers that we worked on previously in this unit. We also paired up with a buddy to find out who had the longest pencil. Partners had to estimate the length, measure, and subtract. We collected group Post-It notes and displayed them on a class poster.


Day 13-14: We spiraled our estimating and differences in length into our tier II math time and continued plugging along with the next concept. This time our focus was on identifying, using, and creating number lines.  I started out by showing the students a "broken" ruler and asking the students if a ruler like this could be used to accurately measure.  Naturally, most of the class said no. I showed them how to use the ruler even if the numbers didn't start at 1.  They thought this was pretty cool! We then related how a broken ruler can be similar to a number line. Some number lines start at 0 (like a ruler) but others start at different numbers.  Over the next day and a half (half of one day went to our monthly nutrition presentation), the class practiced using a ruler to draw and label their own number lines, completing equations and word problems using number lines, and making equations to match other students number lines. 
 
 
Day 15-26: Whew! When I say these days have been a blur, I mean it! Things have been CRAZY busy at school! We have had CIM checks, LIA testing, the kindergarten play, and nutrition presentations. Busy, busy, busy! Even so, the kids have been awesome about adapting to everything and have worked very hard. I am happy to say measurement is finally complete! In a nutshell, these are the concepts/standards that we have covered:
 
CCSS.Math.Content.2.MD.A.1 Measure the length of an object by selecting and using appropriate tools such as rulers, yardsticks, meter sticks, and measuring tapes.
  • CCSS.Math.Content.2.MD.A.2 Measure the length of an object twice, using length units of different lengths for the two measurements; describe how the two measurements relate to the size of the unit chosen.
  • CCSS.Math.Content.2.MD.A.3 Estimate lengths using units of inches, feet, centimeters, and meters.
  • CCSS.Math.Content.2.MD.A.4 Measure to determine how much longer one object is than another, expressing the length difference in terms of a standard length unit.  
  • CCSS.Math.Content.2.MD.B.5 Use addition and subtraction within 100 to solve word problems involving lengths that are given in the same units, e.g., by using drawings (such as drawings of rulers) and equations with a symbol for the unknown number to represent the problem.
  • CCSS.Math.Content.2.MD.B.6 Represent whole numbers as lengths from 0 on a number line diagram with equally spaced points corresponding to the numbers 0, 1, 2, ..., and represent whole-number sums and differences within 100 on a number line diagram.
  • CCSS.Math.Content.2.MD.D.9 Generate measurement data by measuring lengths of several objects to the nearest whole unit, or by making repeated measurements of the same object. Show the measurements by making a line plot, where the horizontal scale is marked off in whole-number units.
  • CCSS.Math.Content.2.MD.D.10 Draw a picture graph and a bar graph (with single-unit scale) to represent a data set with up to four categories. Solve simple put-together, take-apart, and compare problems1 using information presented in a bar graph.
    

    Saturday, February 16, 2013

    U.S. Government

    We have been working on our U.S. Government unit for the last two weeks. Because our school doesn't have a set block of time for science and social studies (instruction is integrated through reading and writing) I have had to come up with some creative ways to fit it all in. Usually I use leveled readers on a specific topic during our small group guided reading time. We tie in whatever reading strategy we are currently working on. In addition, we use early release days and some Fridays to complete projects, experiments, etc.

    Last week, my class focused on United States symbols and their meanings. We read several informational books about symbols, completed a U.S. "Passport" (requiring students to look up and record facts on specific symbols), and conducted an experiment (by far the class favorite!!) on why the Statue of Liberty is green. 

    This week our focus was on how government is formed and the three branches of government.We started out by reading a book and discussing topics such as citizens, laws, and government leaders.  We then watched a video called, Our U.S. Government from Discovery Education.  The students used a note taking page that I downloaded from buzzingwithmsb.blogspot.com to record facts on. When the video was over we went over the most important facts and checked each other's notes.  This is what the note taking page looked like...


    The next day I used something I saw on Pinterest and combined it with some ideas I already had to make these AWESOME government bags...


    I pinned a link from polka dots & pencils that had a similar idea. I then remembered I had a tree and branch outline from an Amy Lemons Main Idea unit that I had purchased last year. I gave each student a copy of the trunk and leaves. They used their note taking page from the previous day to make their own "Three Branches of Government" bags. We opened up the bags and stapled them to the bottom of our social studies bulletin board. I had my intern cut out A TON of stars and United States outlines using our die cut machine. I am placing the cutouts in the independent reading center along with several leveled readers relating to our government topics. As the students read they can record facts that they learn and then place them into their bags. At the end of our unit they will each have a bag full of fun facts that they can take home and share with their parents! Here is what the final board looked like...


    These are some of the books that the kids read this week. They were busy searching for facts, discussing with their partners, and adding to their bags!!!


    Friday, February 8, 2013

    Common Core (Reading)

    Now that we have spent some time reviewing and building background knowledge on comparing and contrasting nonfiction text, it is finally time to jump into the common core standards.  The standards are broken up into RL (meaning reading/literature) and RI (meaning reading/informational text). For this portion of our unit unit we have been focusing on the standard:
     
    RI.2.9-Compare and contrast the most important points presented by two texts on the same topic.
     
    The plan for next week is to have the students interact with two different informational texts dealing with the same topic, dolphins. We will chart the relevant details as a class while the students record them on their personal sheet.  After identifying all of the relevant details the class will then come up with the main idea of the first book (dolphins are mammals that live in the ocean). 
     
    The following day the students will be paired with a partner to read a second informational text on dolphins (an article focusing on how dolphins have been known to save people from sharks).  With their partners they will use Post-it notes to record relevant details. We will go over the details as a class and record them on our chart. Students will add them to their sheet from the previous day.
     
    This is the anchor chart and recording sheet we are going to use to get started.


    Okay so we're now half way through the week. We have read the book, Dolphin Talk and the article, Thank You, Flipper.  We have recorded facts from both and determined the main ideas. The students also added a column to their worksheet for text features. Here are a couple of pics of our work in progress... (and yes, some of it looks VERY messy but I promise there was some serious learning taking place ;) )


    On Thursday my WONDERFUL UF (University of Florida) intern created a lesson for the students to wrap up their study on Dolphin Talk and Thank You, Flipper. Using their signal words, the students had to tell either a comparing or contrasting statement about the two texts.  She took their input and created an anchor chart for the students to refer to. She then split the class up into groups and had them create a newspaper article blurb telling about one of the two texts (she let them pick which book they wanted to write about).  Together the teams worked to write at least two fact statements about their text and added nonfiction text features (illustrations, labels, etc.) Here are a couple of the groups...