For the Love of Learning

Monday, September 2, 2013

Setting Up for Science

To start the year off I always like to do a unit to get the students excited about science.  We begin by reading a book titled, What is a Scientist? We then brainstorm a list of things that scientists do and make a classroom anchor chart with all of the students' ideas (thank you Pinterest!)

The next day, we discuss all of the tools that scientists use.  I set up stations for the students to rotate through where they can get hands-on with the different scientific tools.  The kids LOVE this!! It is so great to see them exploring the classroom. When they have rotated through all of the stations, we do a tool sort to identify the name of the tools and their purpose.


We also talk about the scientific method. There is a great video on BrainPopJr that introduces the basic steps and gives examples of each.  Once we have watched the video and discussed the process, we go over the steps using these posters I found on Teachers Pay Teachers.  After going over them, the students got an individual copy and glued the steps in order.


Finally, we designed our own experiment using the steps in the scientific process. We completed a foldable that took us through each of the steps. We did the "Mentos" experiment because it is always a fun way to grab the students' attention! For those of you who haven't heard of it before, our question is, "What will happen if we drop Mentos into Coke?".  The answer is, "It explodes!!!" The kids love it! I tried to take some pictures but we didn't get it at the right time. Here are some I found online that show the same results.


Friday, August 16, 2013

Getting the Classroom Ready!

I am so excited that I finally feel like my room is coming together. I kept a lot of things that I liked from last year but added some new "touches" as well. There were many people, blogs, and other websites that inspired many of these projects! I hope the students and parents love it as much as I do!


These boards are outside of my classroom in the hallway. The top one is my communication board. I have the schedule (including special area) and our class list posted here. There are also two blank pages that I will paperclip the current newsletter and a quote of the day for the kids to read before they come into the room each morning. The other board is to display student work. Each student has  a piece of paper with a paperclip that I will add their work to as we go through the year. I am planning on adding some kind of a "catchy" phrase in the middle but just haven't decided what I want it to say yet :)

 
This is our reading area. I have used file boxes from Thirty-One and put student numbers on them. Each child will be responsible for filing their own papers when they are done with an assignment.


Using jewelry hangers is a great way to organize flash cards (and cute too!)


Emergency info is always posted and ready by the door (just in case ;) )

 
Our behavior board. "Good Behavior Is Always In Style!"


Extra stuff!!


Friday, July 26, 2013

Welcome Back!!!

I can't believe that summer is almost over and a new school year is right around the corner! I can't wait to meet all of my wonderful new students! I have included a list of important dates and supplies for you to keep in mind. Please let me know if you have any questions!!!

Important Dates: 
Joyce Bullock PTO "Back to School Bash"- Tuesday, August 13 (5:00-7:00 in the cafeteria)
Open House / Meet the Teacher- Thursday, August 15 (12:00-2:00)    

* This is when  you can see the classroom and drop off your supplies
First Day of School- Monday, August 19, (7:50-2:10)
Supply List:

This list is a little different then the standard second grade supply list. I tailored it to ask for what I currently use/need. If you already purchased the items from the grade level supply list do not worry...we can use everything you purchased and you DO NOT have to get anything else! School supplies never go to waste :)

 -      1 wide ruled composition notebook
 -       2 packs of pencil top erasers
 -       2 packs of Expo dry erase markers
 -       2 packs of glue sticks
 -       1 box of baby wipes
 -       2 packs of 24 count Crayola crayons

 -       2 packs of wide ruled notebook paper
 -       1 box of tissues 
 -       1 box of Ziplock bags (boys- gallon size/ girls- quart size)
 -       Box Tops (you don't have to bring these in right away but please save them throughout the year if you can!!!)

Wish List:
-        white or colored card stock
-          1 pack of baby washcloths (cheap is fine! We use these for erasers on our boards)
-          page protectors
-          Clorox wipes
-          highlighters

-          Mod Podge
-          laminating pouches

Wednesday, July 10, 2013

Dollar Tree Deal of the Day!!!

Okay so I know most of us are still trying to wrap our heads around the new shift to the common core standards. One of the biggest changes is the overwhelming push to have LOTS of quality nonfiction text in the students' hands. So...with all that said look what I found at DOLLAR TREE today...seriously...only $1 each!!!!! I bought enough to have a small group set of each. This is going to come in very handy next year. A great resource for parents to pick up too....kids love animals and National Geographic is the best!! Woohoo!!! I hope everyone else is excited by this find as me :)
 
 
This would be GREAT as one of your resources to use when students begin their research reports for common core writing!

 
They also had several of these Weird but True books....They are FULL of color photographs and strange facts that the kids will just love!
 

Thursday, June 27, 2013

Pinterest-Like Projects...

So I have decided to do a few Pinterest inspired projects this summer. The "inspired" part pretty much just means that I am tired of spending money on "cute" stuff so I am trying to repurpose things instead of throwing everything away...here goes nothing!

Project 1: New Name Plate (Total Cost Out of Pocket: $0) (I just officially changed my name to Adkins. For those of you who don't know, I got married last November. I started the school year as Spence and that is what most of the kids called me throughout the year. Now I am overhauling all of my Spence stuff and changing it to Adkins :)

Materials: Old gift bag, picture frame (I found this in my "memories" bag...still had the generic picture that came in it), printer paper, jewels, hot glue gun

Steps:
1) take out original picture from frame and use it to measure and cut background size from an old (but cute!) gift bag


2) Print/cut out a name sign. I chose Pea Ash font and a free clipart border from mycutegraphics.com. Trim the extra paper off and glue to your gift bag background.
 
3) Insert new name plate into picture frame. The one I found was clear on both sides so I did two backgrounds and name pages.
 
4) Embellish! My frame looked a little plain so I dug through the craft closet and found a container of jewels. I created a pattern and hot glued it together. Feel free to add ribbon, bows, glitter, or whatever makes you happy. Be creative!!


Project 2: Dry Erase Note Taking Frame (Total Cost Out of Pocket $0): A cute way to jot down important ideas without all of the sticky notes all over your desk. Write right on the glass with Visa Vi markers and wipe right off with wet wipe. Genius!
 
Materials: Cheap picture frame (also found this one unused in my closet), scrapbook paper or gift bag (I used the same gift bag as the above project so they would match), printer paper, jewels, hot glue gun
 
Steps
1) Take out original picture from frame and measure size onto your scrapbook paper or gift bag. Cut out and use as background.
 
2) Print a note taking page slightly smaller than the frame size. this is a 5X7 frame so I made a 4X6 text box. Trim off the extra paper and glue onto your background.
 
3) Place your new "picture" into the frame. You can write right on the glass and simply wipe away when you are done!
 
4) Embellish! I added a few small jewels to the corners of the picture frame to give it a little pizzazz.
 
Here is the final product(s)....I didn't take pictures along the way but I think that the directions are pretty self explanatory. Best part about both of these projects...they were totally FREE!!!!  
 
 
 Project #3: Dry Erase Essential Question Boards (Total Cost Out of Pocket $4): I plan on posting these at the front of the classroom to remind students of what our focus is for the day/week/unit etc.
 
Step1: I purchased four document frames from Dollar Tree and removed the original pictures.
Step 2: I used one of my chunky fonts (free by the way) and printed the title of each subject on Chevron tag board (the font size in the pictures is 100).
Step 3: cut/glue white cardstock (you pick the shape) below the subject area.
Step 4: Place back into the frame and write essential questions using Visa Vi markers. Wipe off with baby wipes whenever you change units!


Wednesday, June 26, 2013

Where Did The Time Go?!?!

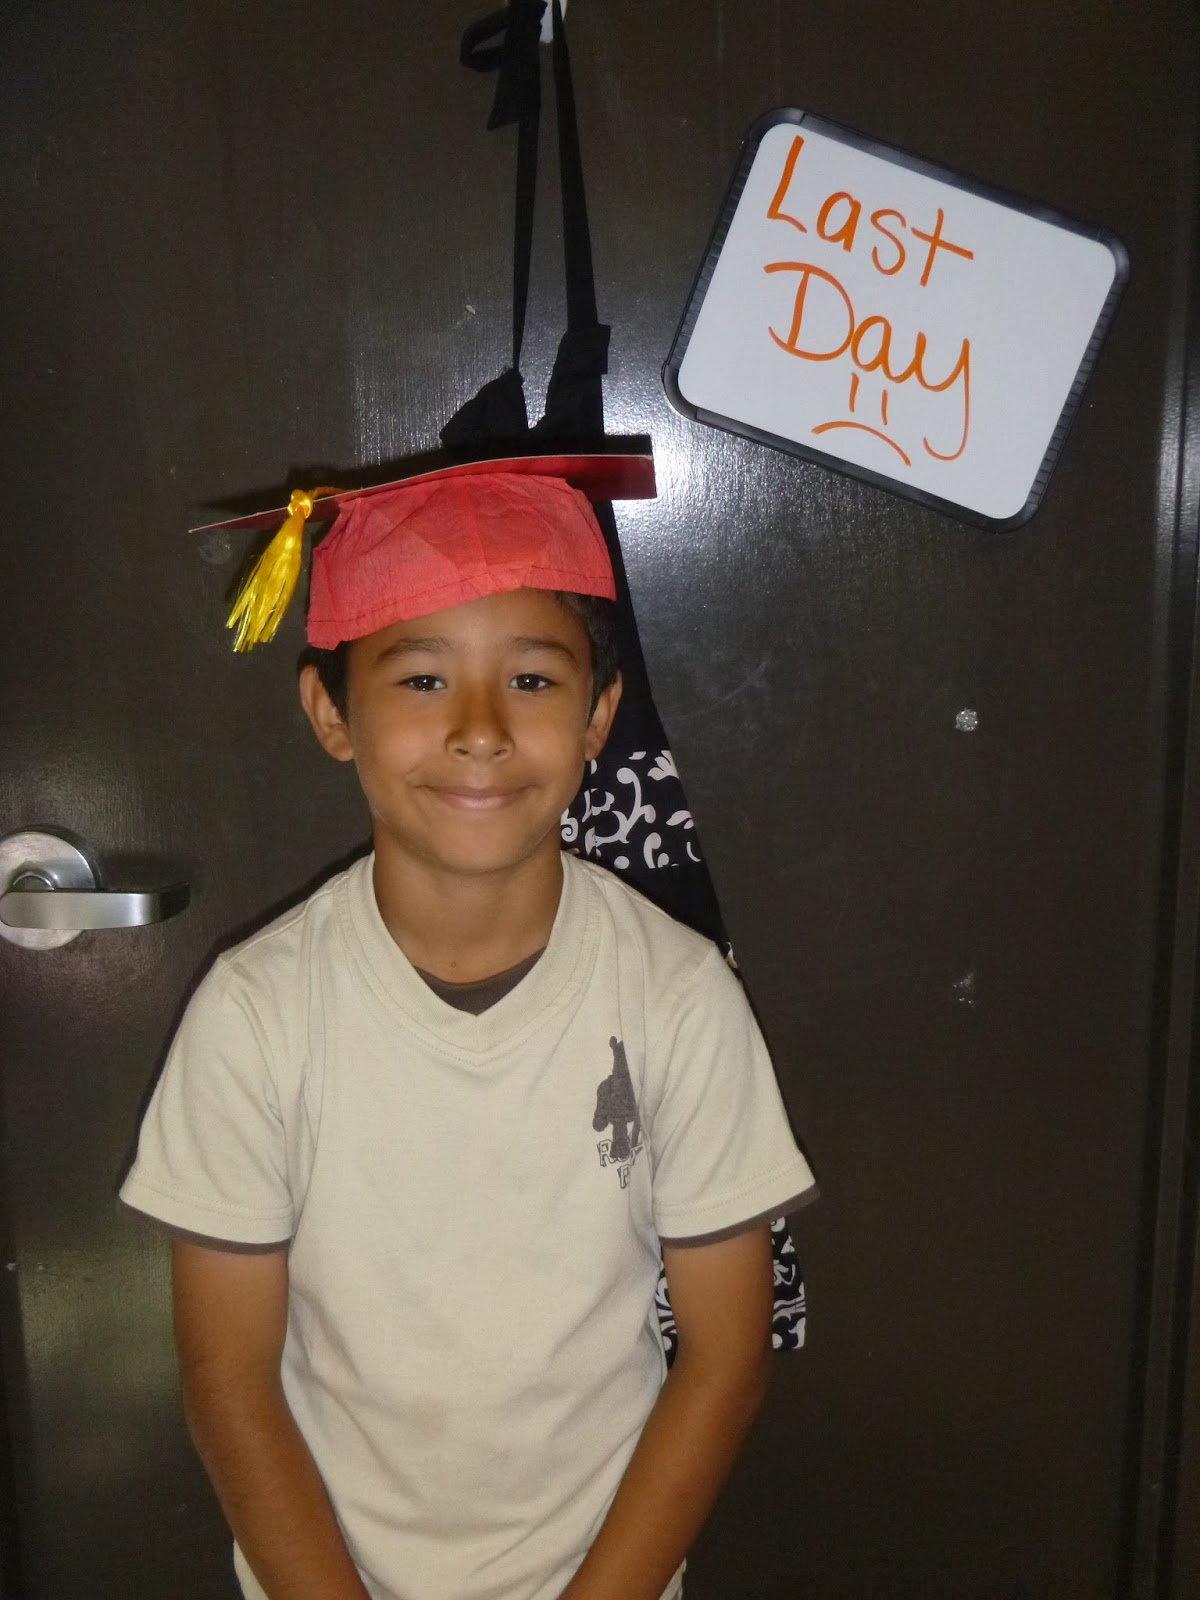
Okay so I know I have been a total loser at keeping up with things....even though the year totally FLEW by and all my sweet babies are off enjoying their summers and preparing for 3rd grade I thought I would catch up on a few photos that I came across during our last nine weeks of school. I am so proud of all of my students and wish you nothing but the best.
I love you!!!
 
 
Random...


School Play


Sea World


Graduation 2013


Field Day 2013


End of the Year Photos... (Tabatha not pictured)
Jose
 
 John
 
Brandon
 
Eddie
 
 Jharod
 
Raegan
 
DeAmoni
 
 Hailey
 
 Davion
 
Emma
 
 Jonathan
 
Madison
 
Raul
 
Robbie
 
Addi
 
Rotayja
 
Kylie
 
Trace
 
My Class of 2013....I will miss you!!!!!